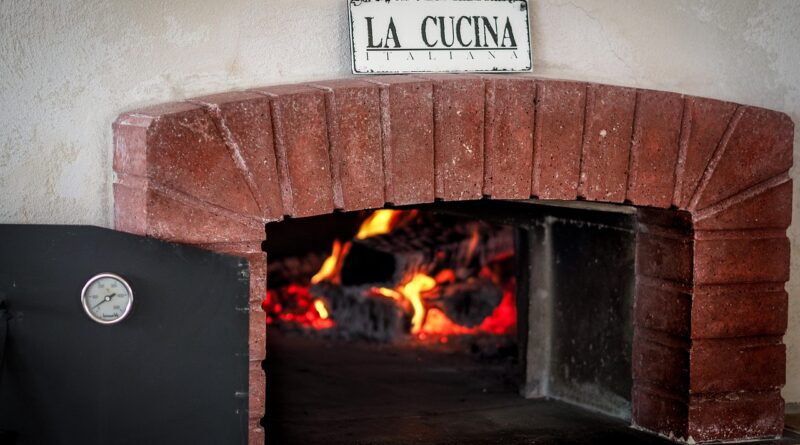
Can a Pizza Oven DIY Build Really Beat a Store-Bought Oven?
A pizza oven diy build can beat many store-bought ovens if you care about heat storage, easy repair, and the simple habit of cooking outside. It fits the DIY Tech way of thinking because the result depends on basic engineering, a safe layout, and a few useful tools, not only on stacking bricks and hoping it works.
A homemade oven is not always cheaper, and it is not safe just because it sits in the backyard. Firebrick, insulation board, refractory mortar, a slab, chimney parts, and weatherproofing all cost money. The main gain is control. You choose the floor size, dome height, fuel style, mouth width, and heat-up routine. If the build is done with care, the oven can cook pizza fast and still hold enough heat for bread, roasted vegetables, or a tray of chicken wings later in the day.
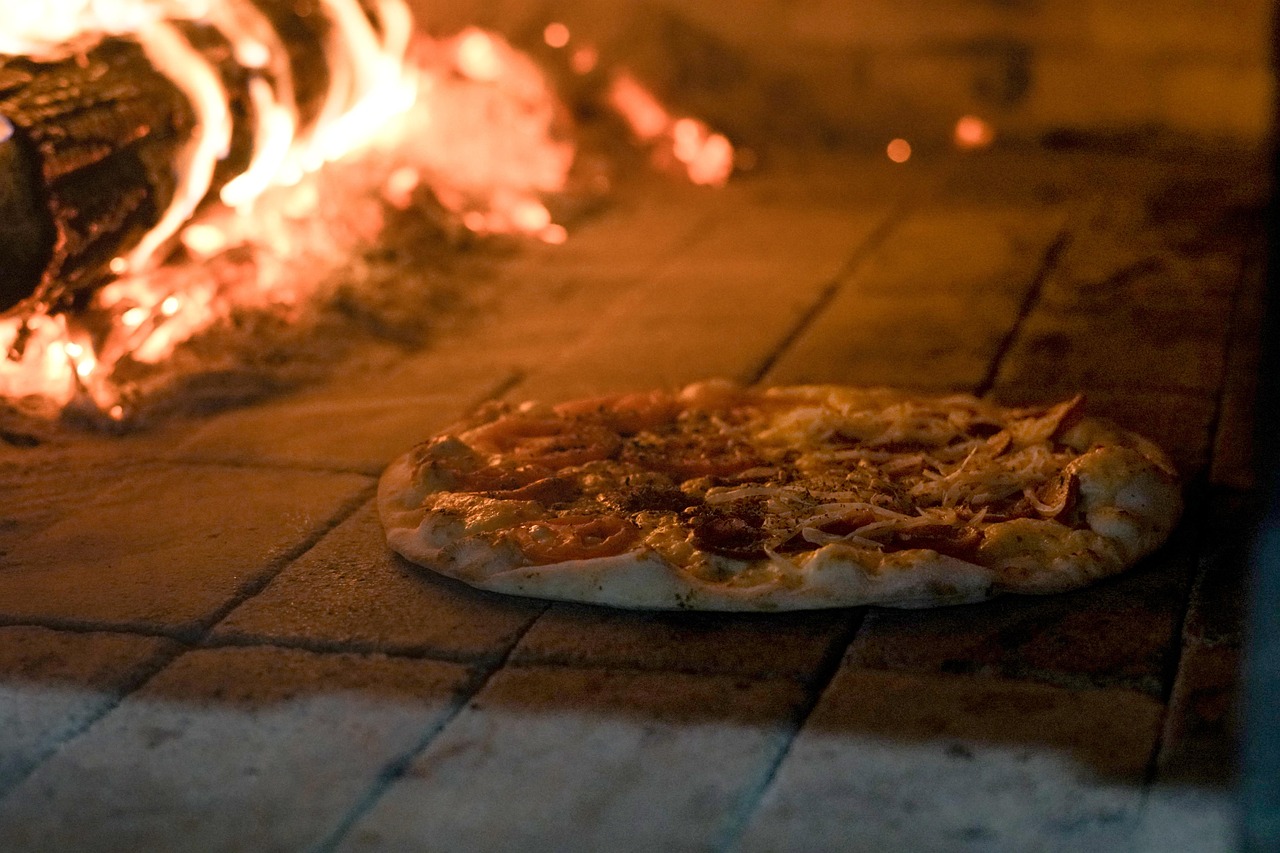
Faster Heat, Better Flavor Control
Neapolitan-style pizza needs far more heat than a normal kitchen oven can give. The Associazione Verace Pizza Napoletana 2024 International Regulations list a base cooking temperature of about 380 to 430°C, a dome temperature of about 485°C, and a cooking time of 60 to 90 seconds. That gives you a clear target to build around. The oven floor has to hold heat, and the dome has to send heat back down at the same time.
Real Limits of a Backyard Build
A DIY oven usually takes longer to start than a small gas countertop oven. A brick dome may need 45 to 90 minutes to heat up, depending on its size, insulation, wind, and the wood you use. It also needs enough space around it. Smoke, sparks, and radiant heat are real issues, so a fixed masonry oven may not suit a small yard, a rental home, or a spot under a wooden deck.
Source Data You Should Not Ignore
Use public safety guidance as the lowest design line, not as something to read after the oven is built. NFPA outdoor burning guidance, publicly available in 2026, says contained fire pits should be at least 10 feet from anything that can burn. EPA Burn Wise health guidance, current in 2026, says wood smoke contains fine particles and toxic air pollutants, and dry seasoned wood makes less smoke. These points affect the build location, the fuel choice, and the way you talk with neighbors before the first fire.
What Size and Shape Should You Build?
Size changes the cost, heat-up time, fuel use, and how easy the oven is to learn. A bigger oven looks good on paper, but a large dome can be annoying for casual use. For most homes, the better oven is the one you will fire on a weeknight, not only when a crowd is coming over.
A 32- to 36-Inch Internal Floor
A 32-inch internal floor is enough for one 12-inch pizza, a side fire, and space to turn with a small peel. A 36-inch floor gives more room and works better if you want to cook two pizzas close together. Once you go larger, the oven gets heavier and uses more fuel. The traditional AVPN oven can be much larger, but backyard cooking is a different use case.
Low Dome for Neapolitan-Style Heat
A low dome sends radiant heat back onto the top of the pizza. That is why a flat box made from random bricks rarely cooks like a proper dome. As a working rule, many DIY builders aim for an internal dome height near 60 to 65 percent of the floor radius. They then adjust the mouth so the fire draws forward instead of pushing smoke into the cook’s face.
A Front Vent That Pulls Smoke Forward
The chimney usually works best in front of the cooking chamber, above the entry arch, not at the back of the dome. This layout lets flame roll across the ceiling before the smoke leaves. It keeps more heat in the dome while still giving smoke a clean way out. It also helps when the oven is hot and you are trying to launch a soft pizza without dragging ash onto it.
Which Materials Make the Oven Last Longer?
The cooking chamber goes through hard heat cycles. Rain, freeze-thaw weather, and poor curing make the job tougher. Spend the money first on the hot face and the insulation. Decorative stone can wait, because a nice outer shell around a weak dome only turns into a repair job later.
Firebrick Where Food and Flame Meet
Use firebrick for the floor and inner dome because it handles repeated high heat better than common concrete pavers or soft red building brick. The AVPN 2024 equipment section describes traditional oven domes made with refractory bricks or refractory cement mixes for mechanical stability. That does not mean every backyard oven has to copy Naples in detail. It does support the basic material choice for the parts that touch food, flame, and high heat.
Insulation under the Floor
Heat that drops into the concrete slab is heat you cannot use for pizza. Put calcium silicate board, ceramic fiber board, or another rated insulation layer under the firebrick floor. Around the dome, use ceramic fiber blanket or a similar high-temperature insulation, then protect it with a weather shell. Without insulation, the oven may still get hot, but it will burn more wood and lose heat too fast.
Refractory Mortar in Thin Joints
Use refractory mortar for the inner dome and keep the joints thin. Thick mortar joints shrink more and crack more easily. Regular Portland cement mixes can work in outer, cooler areas, but they are not the right material for the hot face. A simple material stack is usually enough:
- Reinforced concrete slab for structure
- Insulation board below the cooking floor
- Firebrick floor and dome for thermal mass
- Refractory mortar for hot joints
- Ceramic blanket or board around the dome
- Stucco, tile, or masonry shell for weather protection
How Should You Plan the Base, Dome, and Chimney?
A pizza oven is smaller than a garage, but it is still a heavy masonry project with fire inside. Plan the base and chimney before ordering bricks by the pallet. Check with your local building office or fire department as well. Rules can change by city, season, and wildfire risk zone.
A Slab That Carries Real Weight
A finished brick oven with a block stand, concrete hearth, firebrick, insulation, and outer shell can weigh many hundreds of pounds. Build on compacted ground, use a level footing, and reinforce the hearth slab. If the site has freeze-thaw weather, poor drainage will crack the build faster than most cooking mistakes will. Keep the base high enough that you can see the floor clearly without bending over every time you launch a pizza.
A Dome Built Around a Simple Form
For a first build, use a sand form, plywood ribs, or a foam form to hold the dome shape while the mortar sets. Lay the floor bricks flat, tight, and level. Do not mortar the cooking floor unless your plan calls for it, because loose floor bricks are easier to replace later. Cut dome bricks so the inner face stays tight and the wider outside gaps take the mortar.
A Chimney That Clears Smoke Safely
Use a metal flue or masonry chimney sized for the mouth and the fuel load. The 2024 International Residential Code gives examples of how building codes treat fireplaces, chimney clearance, and spark arrestors, including clearance from combustibles in chimney assemblies. Your outdoor oven may fall under local fireplace, outdoor cooking, or accessory structure rules. For that reason, code checks belong in the planning stage, not after the oven is finished. See also: Gadgets.
How Do You Cure and Fire the Oven Without Cracking It?
Cracks are common in masonry ovens. Small hairline cracks are not always a serious problem. Large cracks, smoke leaks, and loose bricks are different. The best cure is slow drying, because water trapped in mortar, insulation, or render turns to steam when the first firing is rushed. That steam will find a way out, often through the stucco you just finished.
Slow Drying Before Real Heat
After the dome is finished, let the oven air-dry for as long as the mortar maker recommends. Keep rain off it during this stage. In damp weather, give it more time instead of forcing the first fire. A cheap tarp helps, but do not wrap the oven so tightly that moisture stays trapped inside, because airflow still matters.
Small Fires for the First Week
Start with a candle-sized fire or a small handful of kindling, then increase the heat slowly over several days. Keep the flame small at first, because the job is drying, not cooking. On later firings, push the fire toward the center, then move it to the side once the dome changes from black soot to pale brick. That color change shows the surface is getting hot enough to burn off soot.
Temperature Checks With an Infrared Thermometer
An infrared thermometer is one of the few tech tools that earns its place beside the oven. Use it to check the floor, side wall, and dome, not only the spot nearest the flame. For pizza, a floor near 380 to 430°C matches the AVPN 2024 target range. For breads and roasts, you usually wait for lower and steadier heat, and you should keep the thermometer away from flame glare because ash and flame can give a false reading.
How Do You Cook Better Pizza After the Build?
The first few pizzas may not look right. One side may burn, the center may stay pale, or the launch may fail and turn into a folded mess. That is normal with a new oven. A good oven still needs good habits: dry wood, sensible fire placement, a clean floor, and dough that suits the heat.
Dry Wood and a Clean Flame
Burn dry, seasoned hardwood, not treated lumber, painted scraps, plywood, or trash. EPA Burn Wise guidance says efficient burning with dry seasoned wood creates less smoke, and NFPA outdoor burning guidance warns against burning items such as treated lumber, plastics, tires, and aerosol containers. In everyday terms, pizza should smell like oak or maple. It should not smell like a construction dumpster.
Heat Balance Between Floor and Dome
If the floor burns the crust before the cheese melts, let the fire settle down or move the pizza farther from the flame. If the top is pale and the bottom is already done, add a small split of dry wood to raise dome heat. At high heat, turn the pizza every 15 to 25 seconds. Use a small turning peel, because a giant peel tends to hit embers and make the floor dirty again.
Food Safety for Toppings and Leftovers
High oven heat cooks dough fast, but toppings still need basic food handling. Pre-cook raw sausage or thick meat pieces before topping the pizza, and keep cheese and meats cold until you use them. For leftovers, USDA Food Safety and Inspection Service guidance states reheated leftovers should reach 165°F when checked with a food thermometer. That number matters more than guessing by flame size or surface color.
FAQ
Q1: Can a Pizza Oven DIY Build Use Regular Bricks? A: Regular bricks may work in outer decorative areas, but the cooking floor and inner dome should use firebrick or rated refractory material because those parts face direct flame and repeated heat cycles.
Q2: How Much Clearance Does a Backyard Pizza Oven Need? A: Start with at least 10 feet from anything that can burn, based on NFPA public outdoor fire guidance for contained fire pits, then check stricter local rules, overhead branches, fences, siding, and deck materials.
Q3: Is a Dome Better Than a Barrel Vault? A: A dome is usually better for fast pizza because it reflects heat evenly and keeps the flame path low. A barrel vault can be easier for bread and trays, but it often needs more fuel and longer heat-up time.
Q4: How Long Should You Cure a New Pizza Oven? A: Follow the mortar and render maker’s directions, then use several small fires over multiple days. If the oven is damp, cold, or newly rendered, slow down. Rushing the first hot fire is a common crack maker.
Q5: What Tool Helps Most After the Oven Is Built? A: An infrared thermometer helps the most. It shows floor and dome temperature, so you can match the oven to pizza, bread, roasting, or drying heat instead of guessing from flame size alone.