Cricut engraving projects for Maker machines that are realistic to plan
Start with what Cricut engraving can actually do
Cricut engraving projects work best when the design is planned around the machine, the blank, and the artwork style—not just around a broad craft idea. Cricut engraving creates a shallow carved line rather than a printed image, so thin line art, writing-style fonts, monograms, outlines, labels, and simple icons usually read better than dense filled graphics. Official Cricut guidance says the Engraving Tip is for Cricut Maker machines and requires QuickSwap Housing; newer Maker 5 guidance also refers to a compatible one-piece Engraving Tool. For readers comparing tools, materials, and home electronics projects, the DIY Tech section is a useful place to continue browsing related guides.
In practical terms, start with a flat, compatible blank, keep the design away from the edges, secure the material well, and build the artwork for visible engraved lines. That planning makes small gifts, labels, ornaments, tags, and desk accessories much easier to execute consistently.
What makes engraving different from cutting, drawing, or vinyl
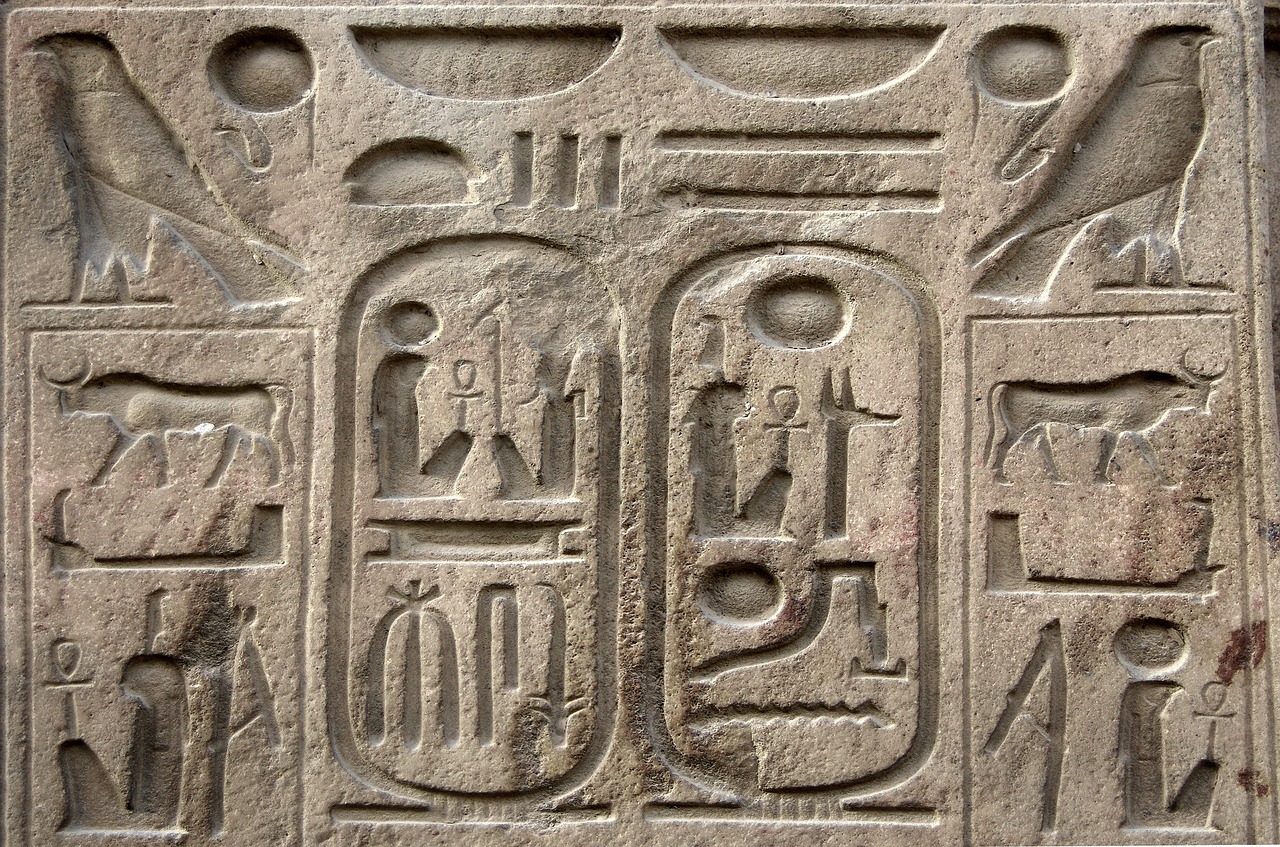
Engraving is a mechanical surface treatment. The tool follows paths across the material and leaves permanent grooves. Cutting separates material. Drawing deposits ink. Adhesive vinyl adds a separate layer that must be weeded, transferred, and eventually may wear or peel.
Those differences affect design decisions. A filled block letter may engrave only as an outline if the file is built as a closed shape. A script font can look clean on a gift tag when it uses writing-style lines, while the same word in a heavy display font may look hollow unless a fill method or hatch pattern is added. For small projects, single-line artwork is usually easier to read and faster to run.
Visibility also depends on contrast. Anodized aluminum often shows an engraved silver line against a colored surface. Clear acrylic may look subtle until light catches the cut lines, so many makers engrave the back side and view the smooth side from the front. Leather and plastic vary widely by surface and composition, which is why test blanks matter more than online photos.
Check machine and blank limits before choosing a project
Many disappointing engraving attempts start with the wrong machine or with a blank that is too thick, too small, warped, or difficult to secure. Use the following planning table before buying materials.
| Planning point | Practical rule | Why it matters |
|---|---|---|
| Machine family | Use a Cricut Maker-family machine for official Engraving Tip projects. | The Engraving Tip relies on Maker tooling support; Explore and Joy machines are not listed for this operation. |
| Tool | Use Engraving Tip 41 with QuickSwap Housing, or the compatible Maker 5 engraving tool where applicable. | The machine and Design Space prompts must match the installed tool. |
| Thickness | For many Maker models, plan around blanks up to 2.4 mm; Maker 5 guidance allows compatible blanks up to 3 mm. | Excess thickness can scrape, jam, or interfere with carriage movement. |
| Width | Keep stiff blanks no wider than 11 in, or 28 cm. | Wide rigid material can hit rollers or star wheels. |
| Shape | Choose flat, unwarped blanks. | Uneven contact can shift the engraving line or create tool-clearance problems. |
| Edge clearance | Keep artwork more than 5 mm from blank edges where possible. | Mat loading tolerance can make edge engraving less precise. |
| Very small blanks | Avoid objects smaller than 1 in, or 2.5 cm, in either direction. | Small pieces are harder to secure and align accurately. |
Cricut also notes that engraving tools are not intended for glass. Some hobbyists experiment beyond official settings, but a reliable project plan should not treat unsupported materials as predictable. If the blank is expensive, personalized, or one of a kind, buy a second piece for testing.
Cricut engraving projects by skill level
Beginner projects with low alignment risk
Aluminum dog tags and key tags are strong first projects because they are small, flat, inexpensive, and designed for personalization. Use initials, a pet name, a phone number, a simple icon, or a one-line quote. Keep text large enough to read after engraving, and avoid placing the design too close to the hole.
Plant labels are another practical beginner option. A set of matching aluminum or plastic labels can be engraved with herb names, seed dates, or simple care notes. Because the design is usually text-only, it is easier to troubleshoot font size, line spacing, and placement.
Acrylic gift tags work well when the blank is compatible and within thickness limits. For clear acrylic, mirror the artwork and engrave on the back so the front remains smooth. This approach gives ornaments, wedding favors, party tags, and reusable bag labels a cleaner finish.
Intermediate projects that need better setup
Metal bookmarks require careful taping because the blank is long and narrow. They are worth the setup effort because short quotes, names, coordinates, and decorative line art fit the shape naturally. A narrow border can look attractive, but leave enough margin for placement tolerance.
Leather patches can be used for notebooks, key fobs, tool rolls, and handmade accessories. Cricut guidance recommends softening tooling leather fibers with a damp sponge before engraving. Results depend heavily on the leather, so treat every new leather type as a test material.
Acrylic light-base inserts can be realistic if the insert is flat, compatible, and within thickness limits. The Cricut does not create the light; it engraves the acrylic panel. The electronics and LED base are separate components, so check fit and heat safety before assembling a decorative display.
Advanced projects where workflow matters
Layered acrylic ornaments combine engraving with assembly. One clear engraved layer can sit in front of a colored backing, paper insert, or vinyl accent. This adds contrast without requiring the engraved line to create a dark mark by itself. See also: Gadgets.
Home organization plates are useful for drawers, cables, craft bins, power adapters, and workshop shelves. These projects become more demanding when you need consistent placement across a batch. Build a reusable guide shape in Design Space, attach artwork carefully, and test the first blank before engraving the full set.
Small desk signs and name plates can look polished on anodized aluminum or acrylic, but they expose weak typography quickly. Use fewer words, wider letter spacing, and simple line art. If a sign needs a bold filled logo, engraving may be only one part of the build; paint fill, backing color, or layered material may be needed for contrast.
Prepare artwork for cleaner engraved results
The artwork stage is where many Cricut engraving projects succeed or fail. Start by matching the design to the way the tool moves. Engraving follows paths, so thin lines, writing fonts, outlines, botanical line drawings, constellation maps, icons, and monograms are natural fits.
- Use writing-style or single-line fonts for small text. They engrave as intentional strokes instead of hollow outlines.
- Increase spacing for readability. Tiny letters can merge visually when engraved into reflective metal or clear acrylic.
- Use hatch lines for a filled look. Closely spaced line patterns can create the impression of fill, but they increase run time.
- Duplicate an engraving layer only when needed. Some Maker 5 guidance suggests duplicating a layer for a bolder result, but alignment must be exact and the blank must stay secure.
- Mirror clear acrylic designs when engraving the back. This keeps the front surface smooth while making the design readable from the front.
Before sending the project to the machine, zoom out to the approximate finished size. If the design only looks good at a large on-screen scale, it may not read well on a one-inch tag.
A reliable workflow from setup to finishing
- Measure the blank. Use the actual blank, not only the product listing. Record width, height, and thickness.
- Create a guide shape in Design Space. Match the guide to the blank size. Use it only for positioning, then make sure the engraving artwork is set to the Engrave operation.
- Place the artwork inside a safe margin. Keep it away from holes, rounded corners, and edges.
- Secure the blank on the correct mat. A StrongGrip mat is commonly used for rigid engraving blanks. Use painter’s tape on all sides, but do not cover the design area.
- Move star wheels when needed. For thicker rigid materials, move the white star wheels aside so they do not roll over the blank.
- Select a compatible material setting. If materials appear greyed out, Design Space is indicating they are not compatible with the selected operation or machine setup.
- Stay near the machine while it runs. Engraving can take longer for intricate designs, and the blank must remain secure.
- Unload and clean carefully. Metal and other materials can leave small fragments or burrs. Do not run fingers across the engraved area; use tape or a lint roller to lift debris.
- Finish the surface if needed. Cricut guidance mentions polishing cloths or 360–600 grit finishing sandpaper for rough edges, but test the back first to avoid visible scratching.
After engraving, remove dust from the machine with a soft cloth or with compressed air directed outward rather than deeper into the machine. This small maintenance habit helps keep repeated projects cleaner.
Choosing blanks for durability and appearance
| Blank type | Strengths | Limitations | Good project uses |
|---|---|---|---|
| Anodized aluminum | High contrast when the colored coating reveals a lighter line. | Edges and burrs may need careful cleaning. | Tags, labels, keychains, bookmarks, name plates. |
| Clear acrylic | Clean modern look; works well with light and layered backing. | Engraving can be subtle without lighting or contrast. | Ornaments, display inserts, gift tags, signs. |
| Tooling leather | Warm handmade appearance and flexible use. | Results vary by leather type and moisture preparation. | Patches, notebook labels, key fobs, accessory tags. |
| Compatible plastic | Lightweight and easy to use for labels. | Contrast depends on color and surface finish. | Storage labels, plant markers, drawer tags. |
Durability is not only about the material. It also depends on how the finished object will be used. A keychain rubs against keys every day, while a framed acrylic ornament may be handled only once a year. For high-contact objects, prioritize simpler artwork, stronger visual contrast, and blanks designed for wear.
Common mistakes and simple fixes
- The design engraved in the wrong place. Recheck the mat preview, use a guide shape, and remember that physical loading tolerance can affect edge placement.
- The text looks hollow. Switch to a writing-style font or add a hatch-fill method instead of using a heavy filled font.
- The blank moved. Use a cleaner mat, tape all sides, press the blank down firmly, and support the mat during loading if the material is stiff.
- The material option is greyed out. Confirm the machine model, operation type, and installed tool. Greyed-out options usually mean the setup is not compatible.
- The engraving is too faint. Choose a higher-contrast blank, simplify the design, consider duplicated engraving layers only when alignment is secure, or add contrast through backing color or paint fill after testing.
- The machine scrapes or jams. Stop and check thickness, width, star wheel position, and whether the blank is lifting. Do not force a project to continue if the carriage or mat movement is obstructed.
Frequently asked questions
Can Cricut Explore machines make Cricut engraving projects?
Not with the official Cricut Engraving Tip workflow. Cricut lists the Engraving Tip for Maker machines, and its help materials state that it is not compatible with the Explore family.
What are the easiest Cricut engraving projects for a first attempt?
Start with a flat aluminum tag, plant label, or acrylic gift tag. These projects use simple text or line art, do not require large surfaces, and make it easier to see whether the blank is secured and aligned correctly.
Can a Cricut engrave glass?
Cricut guidance says engraving tools are not intended for glass at this time. For a reliable project plan, use compatible acrylic, aluminum, leather, or plastic blanks instead of treating glass as a standard material.
Why does my engraved font look like an outline?
The tool follows the path in the design file. If the font is built as a filled shape, the machine may trace the outside. Use writing-style fonts, single-line artwork, or a deliberate hatch-fill technique when you want a fuller appearance.
Do I need to calibrate the Cricut Engraving Tip?
Cricut’s help information says the Engraving Tip does not need calibration. Better results usually come from correct material selection, secure taping, good artwork preparation, and realistic edge clearance.